
Hi folks.
A way to organize myself is by using the google calendar. I use it because it’s friendly, I can keep some calendar to represent different issues in different colours which is very useful because I can distinguish easily some events from others.
But Google Calendar is an online application and I’d like to carry it with my on my blackberry playbook, so I should set it up on it.
Blackberry Playbook has a wizard to configure an email, contact and calendar account from different providers. While a Microsoft email account is easy, because the device sets everything up automatically including all calendar you have, with google it just takes the first calendar it finds. If you have more like me, you won’t be able to see them.
The way to get to set them up is one by one.
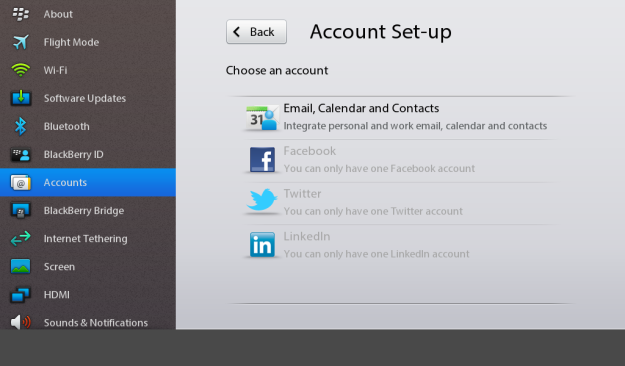
After setting up the main one, you have to add a new Email, Calendar and Contacts account as the image below:
And then filling out the form. This time, in the description field, put the name of the calendar as you want it to be shown on the calendar application.
On the User name field, write down your user name as always (I think It doesn’t matter what you put on it).
On the Email address field, you have to make up your email address. Normally you may use the same but making on it some difference like adding numbers. Blackberry Playbook is not going to use neither username nor email, and password either. But you have to write it down because if not, the form validation is not going to allow you carry on.
On password, a password.
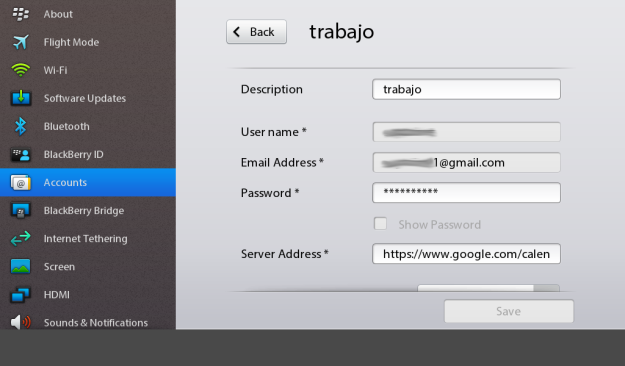
Server Address field is the key in this subject. The server address is an URL from google.
Your main calendar would require an username and a password because you may add new appointments on it, but what we are doing with the other ones is add them on our playbook by public address. This is an address you can share to others. that’s why you don’t really need neither an user name, nor an email, nor a password.
Sever Address field would contain an address as this:
https://www.google.com/calendar/dav/CODE-OF-CALENDAR%40group.calendar.google.com/events
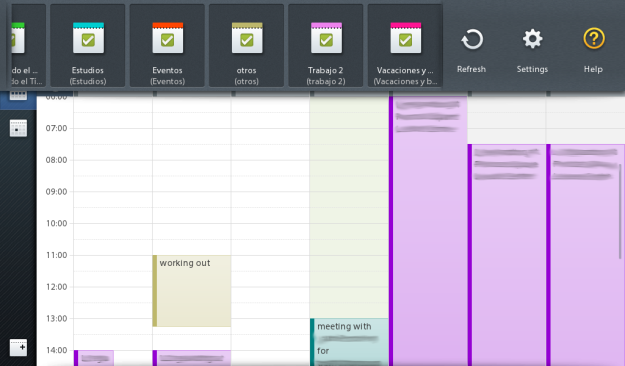
What you have to do is to go to your calendar setting of the calendar you want to set up on your Blackberry playbook and copy the code of calendar like in the picture below:

And put it into the address above, in the Server Address of the wizard form.
You have to do this with each calendar you want to show on your Blackberry Playbook.
This is it. Thank you for visiting.
